Guest Bath Progress
- SandraJoan

- Nov 18, 2024
- 4 min read
The Guest Bath Progress has been one that has been worked off and on. To be honest I didn't have an official plan for this bathroom, it's been a WIP in all honestly. All I knew was that I wanted to give it a refresh ASAP because it's a guest bathroom and I knew it would be used right away with guests and friends and family that stops by to visit frequently and throughout.
I simply wanted it to be feel put together while we make more drastic changes in the future. I wanted to keep it somewhat neutral because its a closed in bathroom, there are no windows, therefore lighting is limited and until we get overhead recess lighting over the shower, the only lighting is over the sink vanity.

Here is what we were working with when we first moved in. A very Gray or Blue-ish gray bathroom. Thankfully the floor tile, vanity and shower and hardware were in decent condition and nothing we needed to change right away but in time we will.

I started by painting all the exterior doors in the hallway therefore that sort of got put into play when I painted the interior of this guest bath door. This bathroom must have been the kids bathroom with the previous owners therefore there was a lot of marker marks and nail polish spills that must've splattered onto the door at some point. Giving the door a fresh coat of paint led to giving the walls a fresh coat as well.


I did my best prepping and sanding the walls after removing the medicine cabinet mirror but eventually I'll be either smoothing them out better or adding texture, but that will be determined once we decide to remodel this guest bath completely.
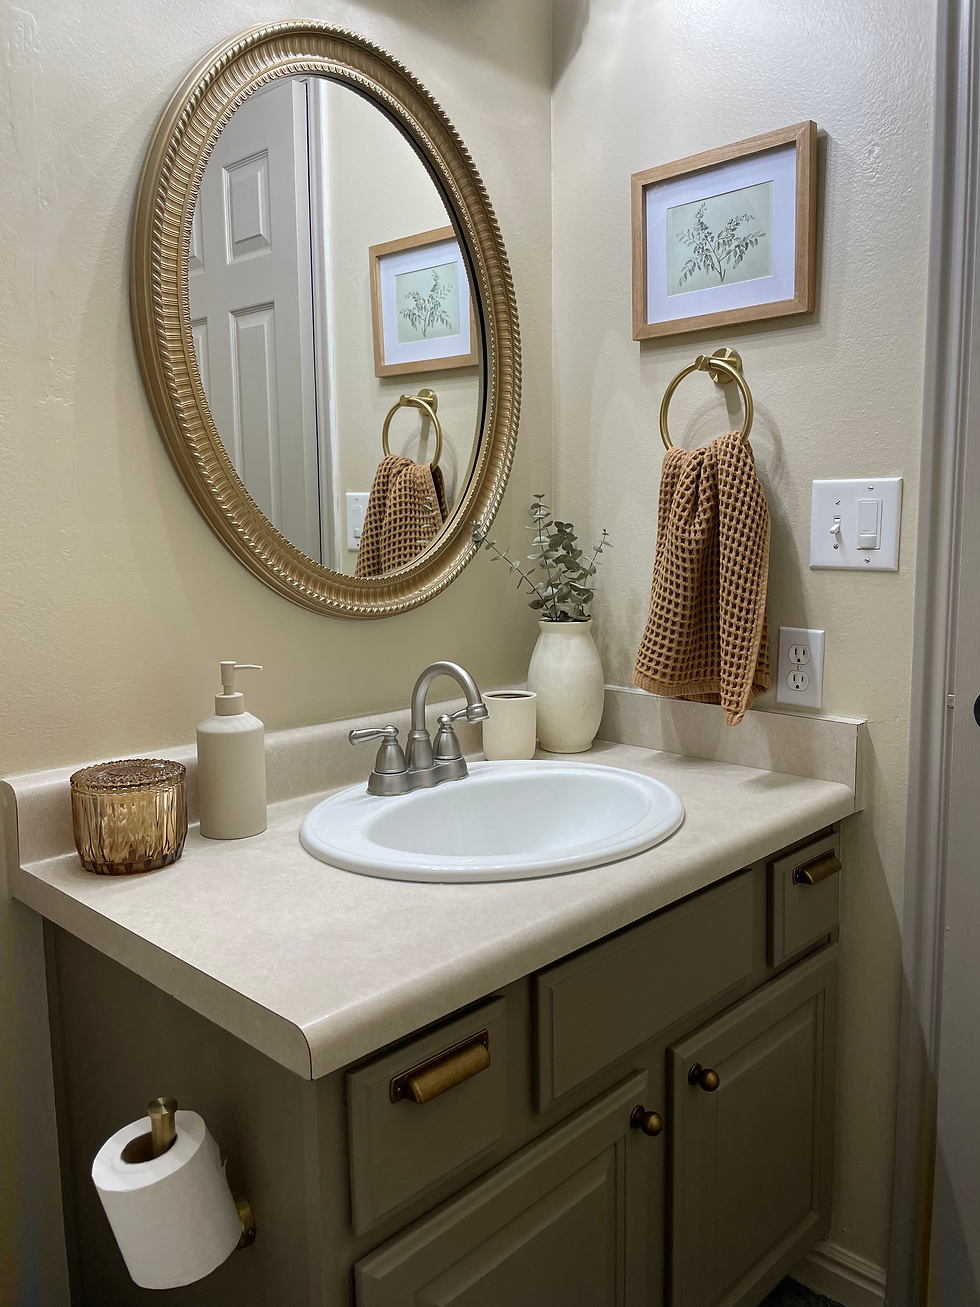
For the walls I chose Dainty Lace by Behr, I just had it match with Glidden Interior Satin.
I did the usual prepping. Painting the walls and eventually I painted the vanity also. It helps that two of three vanities in this house happen to be wood. So of course I used my favorite chalk paint and painted them in All-In-One chalk paint Sunday Tea.

After having added hardware to our kitchen cabinets I realized I wanted to add the same hardware from Amazon to our guest bath and eventually I added it to our master bath vanity too, but that's for another post to share. Including the towel and toilet tissue holders.

The mirror and shelf are FBMP finds. The shower curtain is from Threshold Target but no longer carry it, a longer one is definitely in order. So I've been browsing Target again and Amazon lately, stay tuned for an upgrade. Isn't it disappointing that standard shower curtains are never the length you need them to be. Or would like them to be?!
I'm still going back and forth on whether I want to paint the floor yet.

I shopped our home for the decor items in this guest bath.


I love shopping Homegoods for affordable and minimal bathroom accessories. Eventually again, this bathroom will get a full reno but until then the standard vanity sink and counter work. We might be swapping out the faucet soon though due to some imperfections and I cannot wait to swap out the light above the vanity as well. Decisions decisions.
Our latest add on in here was the FREE bead-board I found on FBMP. We had it sitting around for quite a while until 6 months ago we finally decided it was time to find a way to make it work in here. And though not perfect because it is a DIY, I love it and love that it gives this wall a purpose now.
Adding the wooden shaker pegs were the perfect touch for robe and/or towels, etc. I opted to leave them neutral as they came. The wooden shaker pegs are from Amazon as well.

Love the progress in here in comparison to how it started. Though they are minimal and cosmetic upgrades, sometimes that's all a room needs to change completely. Especially when there's a whole house to work on and one that will take time and money.
I love that I get to take my time with this home and make it our own one room at a time.
Would love to know your thoughts on the progress of this guest bath? Feel free to leave a comment or any questions below.
I truly hope you enjoyed this post. Remember, the charm lies in the imperfections and the personal touches you bring to it. Thank you for being a part of my creative journey. I’d love to see your finished projects or recipes, so please do share them on Facebook and Instagram, I'm always happy to hear from you!
Thank you so much for stopping by the blog today, it truly means the world to us, keep up with us daily on Facebook, Instagram and please share and follow on Pinterest.
Always so happy when you're here and hope that these ideas inspire you daily.
Thank you for stopping by. Stay tuned for more.
Full Disclosure: This post may contain affiliate links and I may receive a small commission for any sales made through them, at no cost to you, of course. Every little bit goes to help support the costs of running my blog (because it's no longer free sadly) and helps support our household. Thank you :)


ความคิดเห็น